
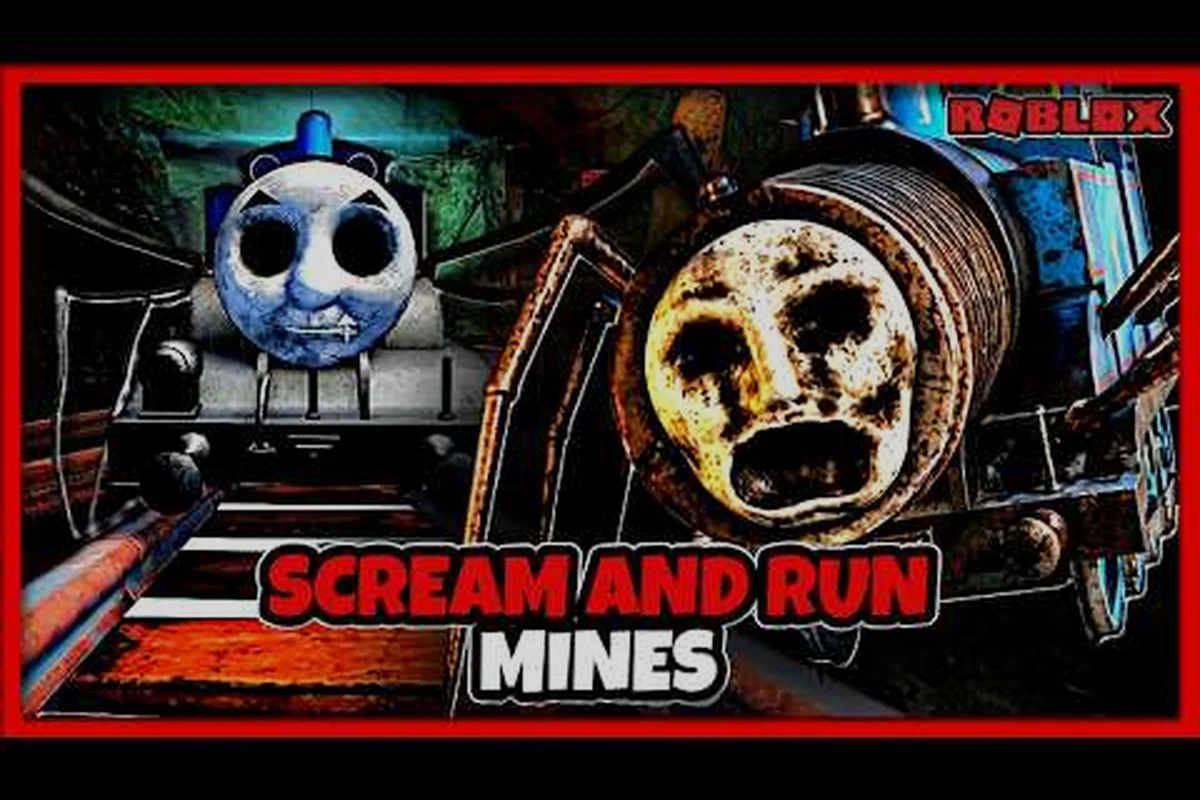
The Mines map in Scream And Run drops you into a pitch-black tunnel network where a single wrong step means Dark Thomas catches you before you ever see the exit. This scream and run mines walkthrough breaks down every room, every key spawn, and every safe corner so you can escape alive on your first or twentieth attempt. According to the official Scream And Run Roblox page, the Mines location was added in the September 2026 update as the second playable map, and the community has been documenting every tunnel since launch.
Mines Map Structure and Layout Basics
The Mines floor plan is built around a long central shaft that connects three main levels: the Upper Tunnels near the spawn, the Mid Caverns where most of the keys are hidden, and the Lower Depths which house the exit gate. Players who already understand the school upstairs layout from the main map guide will notice that the Mines trades wide hallways for narrow, twisting passages, which means line-of-sight plays a much bigger role here than in the Cat in the Hat's school.
Spawn Area And First Safe Zone
You begin at the Upper Tunnels near a flickering lantern. The spawn chamber is the only guaranteed safe zone because Dark Thomas never pathfinds into the starting room. The first task is always to grab the Lantern Tool from the wooden crate by the north wall. Without the lantern, every other tunnel is nearly invisible.
Vertical Connections Between Levels
The Mines use two main vertical connectors: a Rope Ladder in the Upper Tunnels east wing and a Stairwell Carved into Rock in the Mid Caverns south wing. Both lead down to the Lower Depths. Players should know that the rope ladder creaks audibly when you climb, which can lure the monster from two rooms away, while the rock stairwell is silent but slower to traverse.
| Level | Main Rooms | Vertical Exit | Key Spawn Density | Monster Activity |
|---|---|---|---|---|
| Upper Tunnels | 4 rooms | Rope Ladder (East) | Low (1 key) | Low |
| Mid Caverns | 7 rooms | Rock Stairwell (South) | High (3 keys) | High |
| Lower Depths | 5 rooms | Exit Gate (Center) | Medium (1 key) | Medium |
Room-By-Room Mines Walkthrough
This section is the heart of the scream and run mines walkthrough, walking through every room in the order you should clear them. The recommended path assumes you spawn at the Upper Tunnels and work downward, but you can adapt if Dark Thomas is patrolling your entry point.
Upper Tunnels: Entry Rooms
The Upper Tunnels contain four rooms: the Storage Nook, the Collapsed Drift, the Surveyor Post, and the Lantern Alcove. The Storage Nook almost always holds the First Key inside a metal locker, and the Surveyor Post contains a paper map of the Mines that marks key spawns for the rest of the run. The Collapsed Drift is a dead-end trap room that spawns no keys but contains a useful Smoke Bomb consumable on the floor near the rubble.
Mid Caverns: The Search Zone
The Mid Caverns are the largest level and the most dangerous. Seven rooms make up this section, and three of them hold the bulk of the keys you need. According to the Scream And Run Studios community page, players who rush straight to the center caverns tend to die first because they skip the lanterns in the upper wing.
| Room | Likely Key Slot | Hidden Loot | Danger Rating |
|---|---|---|---|
| Central Chamber | Stone Pedestal | Gold Coin x2 | 4/5 |
| Side Mine A | Behind Crate | Bandage | 2/5 |
| Side Mine B | Under Cart | Flashlight | 2/5 |
| Lower Shaft | Behind Barrel | Smoke Bomb | 3/5 |
| Crystal Cave | On Table | None | 5/5 |
| Pillar Hall | Inside Crate | Gold Coin | 3/5 |
| Dark Corner | Floor Mat | Battery | 4/5 |
Lower Depths: The Final Stretch
The Lower Depths lead to the exit gate, which requires all five keys. The five rooms here are: the Flooded Tunnel, the Forge Room, the Chain Room, the Old Office, and the Exit Chamber. The Flooded Tunnel is a long wading section where you move at half speed, and the Chain Room is full of dangling chains that clang together if you bump them, alerting Dark Thomas.
Key Locations And Collection Strategy
Unlike the School map, the Mines scatter the five keys across three vertical levels rather than concentrating them in classrooms. This means your scream and run mines escape route depends less on memorizing a single floor and more on tracking which level you have already cleared.
Key Spawn Rules
Keys in the Mines follow a soft random pattern, but community testing shows clear tendencies. The first key is almost always in the Storage Nook, the second tends to appear in the Central Chamber, and the final key is frequently hidden in the Crystal Cave or the Dark Corner. Two of the five keys always appear in the Mid Caverns, which is why experienced players save the Mid Caverns sweep for last when possible.
| Key # | Most Common Room | Backup Room | Notes |
|---|---|---|---|
| Key 1 | Storage Nook | Lantern Alcove | Nearly guaranteed in spawn level |
| Key 2 | Central Chamber | Pillar Hall | Watch for Dark Thomas patrol |
| Key 3 | Crystal Cave | Dark Corner | Highest danger, save smoke bomb for here |
| Key 4 | Flooded Tunnel | Old Office | Slow movement, plan exits |
| Key 5 | Chain Room | Forge Room | Chains alert monster if bumped |
When To Stop Searching
A common mistake players make is re-entering already-cleared rooms looking for missing keys, which only wastes stamina and alerts Dark Thomas. Once you have confirmed a key is in your inventory, mark the room mentally as "done" and move to the next level. If you are missing one key after sweeping the Mid Caverns, return to the Upper Tunnels' Collapsed Drift even though it is normally loot-only, because the rotation can occasionally place a key there as a fifth-slot swap.
Dark Thomas Behavior And Dodge Patterns
Dark Thomas is the antagonist of the Mines map, and his patrol patterns are noticeably different from the Cat in the Hat. He is faster, he does not have a fixed schedule, and he teleports to the player's last lantern-lit area if they stand still for more than ten seconds. This makes the scream and run mines walkthrough more about momentum than hiding.
Patrol Routes And Audio Cues
Dark Thomas's patrol follows a rough loop through the Mid Caverns, but he breaks pattern whenever he hears a sound. Loud actions include dropping the lantern, bumping chains in the Chain Room, and sprinting on the metal catwalks in the Pillar Hall. Quiet actions include crouch-walking on dirt floors, picking up items, and using the Smoke Bomb consumable. Players who have practiced the perfect run timing from the school map walkthrough will find that the same discipline applies here: never run when you can crouch-walk, and never stand still when you can move.
Safe Hiding Spots
The Mines offer fewer hiding spots than the School, but each one is reliable. The wooden crates in Side Mine A and Side Mine B are large enough to crouch behind, the Flooded Tunnel has submerged alcoves along the wall, and the Old Office has a lockable locker that hides your player model entirely. Dark Thomas can still hear you breathing in a locker, so only use it when you need a hard reset.
Items, Tools, And Light Management
Light is the single most important resource in the Mines, more than keys, more than stamina. Without light, you cannot see the key glow on pedestals, and you cannot read the floor traps scattered across the Mid Caverns. The Mines spawn three types of light source, and each behaves differently.
| Tool | Duration | Brightness | Special Effect |
|---|---|---|---|
| Lantern Tool | Full run | Medium | Can be refueled at Forge Room |
| Flashlight | 3 rooms | Low | Reveals hidden floor traps |
| Battery Flashlight | 6 rooms | High | Reveals key glow through walls |
Light Stamina And Refuel Points
The Lantern Tool is the only renewable light source. The Forge Room in the Lower Depths contains a fuel barrel that refills the lantern to full, but the refuel animation takes eight seconds, which is long enough for Dark Thomas to investigate if you do not have a Smoke Bomb ready. The Flashlight and Battery Flashlight are single-use and drain as you cross room boundaries, so track your room count carefully.
Floor Traps And Hidden Dangers
The Mines include pressure plates in the Crystal Cave that drop rocks from the ceiling, false floors in the Flooded Tunnel that drop you into a lower cave (costing 30 seconds), and tripwires in the Chain Room that clang loudly. According to community reports, the floor traps in the Crystal Cave are the deadliest because they are nearly invisible without the Flashlight active.
Finishing the Run: Exit Gate Order in the Mines
Once you have all five keys, head to the Exit Chamber in the center of the Lower Depths. The exit gate is a heavy steel door with five keyholes arranged in a circular pattern. Inserting all five keys takes about 12 seconds total, during which you cannot move or defend yourself. This means your scream and run mines escape plan must include a Smoke Bomb or a confirmed Dark Thomas spawn far from the Lower Depths before you commit.
Final Steps Before Inserting Keys
Before you insert the keys, drop any unneeded items to reduce inventory weight, check that the Lantern Tool is at least half fuel, and confirm you are crouched behind a crate. If Dark Thomas is in the Lower Depths when you start the insertion, you will not finish the animation in time. Players who understand the full escape sequence across both maps will know that the Mines exit is the longest lock animation in the game, so positioning matters more than speed.
What Happens After You Escape
Escaping the Mines triggers a short cutscene of your character climbing out of a mineshaft into daylight, then teleports you back to the lobby with a new badge. The Mines badge is one of the rarest in Scream And Run because the map is harder than the School, and according to community data only about 18% of players who enter the Mines successfully escape on their first attempt.
Advanced Tips And Common Mistakes
Even after you know the layout, several mistakes can ruin a perfect run. The first is sprinting on metal catwalks, which makes a loud clanging noise that pulls Dark Thomas from two rooms away. The second is re-entering a cleared room looking for a key you already picked up, which wastes time and stamina. The third is using the Lantern Tool in the Flooded Tunnel, because water splashes onto the glass and dims the light by 50% for the rest of the run.
Speedrun Notes
If you are aiming for a competitive time, the route changes. Skip the Collapsed Drift entirely, do not pick up the Bandage unless you are below 40% health, and use the Smoke Bomb to bypass the Crystal Cave key rather than fighting through it. The fastest documented community time for the scream and run mines walkthrough is just under nine minutes, and every minute below that comes from skipping optional loot and not from faster movement.
Beginner Mistakes To Avoid
New players tend to make three predictable errors: they ignore the Surveyor Post map, they crouch-walk in the Lower Depths where it is unnecessary, and they forget that the Lantern Tool can be refueled. Memorizing the upstairs floor plan of the School map does not directly transfer to the Mines, but the habit of marking cleared rooms does.
Frequently Asked Questions
How many keys do I need to escape the Mines in Scream And Run?
You need all five keys to open the exit gate, just like the School map. The Mines spread the keys across three levels, with the first usually in the Storage Nook and the others split between the Mid Caverns and Lower Depths. Plan your route to sweep level by level rather than running back and forth.
Where is the safest hiding spot from Dark Thomas?
The lockable locker in the Old Office in the Lower Depths is the only hiding spot that fully conceals your player model. Wooden crates in Side Mine A and Side Mine B also work, but Dark Thomas can detect breathing in those. Always use the locker when you need a hard reset, and only when you can confirm he is not already in the room.
Can I refuel the Lantern Tool during the run?
Yes, the Forge Room in the Lower Depths contains a fuel barrel that refills the Lantern Tool to full capacity. The refuel animation takes about eight seconds, so make sure you have a Smoke Bomb or a confirmed safe window before committing. Refueling is worth doing before the final key insertion in the Exit Chamber.
Does the Mines map have an upstairs like the School?
The Mines do not have a traditional second floor, but the Upper Tunnels function as the top level of a three-level vertical map. Players coming from the School map will find the Mines feel more like a basement than a building, with rope ladders and rock stairwells replacing staircases. The key spawn density also shifts from horizontal to vertical, which changes the search strategy.
What is the fastest way to clear all rooms in the Mines?
The fastest documented route is Upper Tunnels straight to the Surveyor Post for the map, then a single sweep through the Mid Caverns in a clockwise loop, finishing with the Lower Depths. Skip optional loot like the Bandage and the Gold Coins unless they are directly in your path. The community record stands at just under nine minutes for a full scream and run mines escape.