
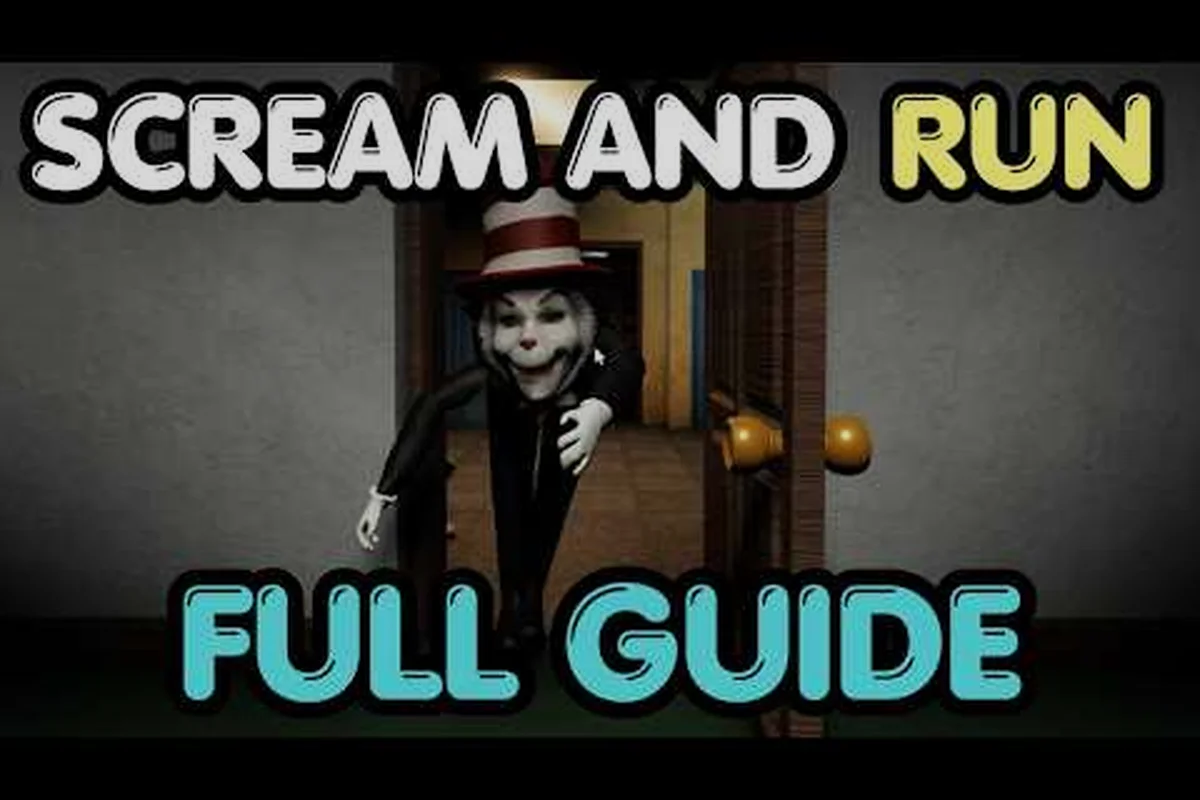
Waking up locked inside a pitch-dark school while a Cat in the Hat stalks the hallways is exactly the kind of moment this Scream And Run beginner guide is built for. According to the Scream And Run on Roblox official game page, the core loop is simple on paper: loot five hidden keys, unlock the exit, and get out alive — but the monster's patrol patterns, dark corridors, and limited stamina make every new run a panic test. This guide gives you a first-night plan that covers spawn safety, the five-key objective, stealth movement, and a clean escape route so your first few attempts stop ending in the cafeteria.
Night One Setup: Spawn Point, Stamina, and First 10 Seconds
Your first ten seconds decide whether you spend the rest of the round searching or hiding. The spawn classroom is the only spot where the Cat in the Hat cannot enter, so treat it as a staging room rather than a starting line.
Stamina, Crouch, and Audio Cues
Scream And Run uses a stamina system tied to sprinting, vaulting, and pushing open jammed doors. If you spam sprint the moment you spawn, you will hear a harsh breathing loop and the stamina bar will bottom out, leaving you slow and loud for the next several seconds — exactly when the monster is closest. Community testing on the official Scream And Run Studios group page confirms that crouch-walking cuts your footstep audio to roughly a third of sprint volume, which is the single biggest reason a quiet runner survives and a loud one gets cornered.
| Action | Stamina Cost | Footstep Audio | When to Use |
|---|---|---|---|
| Walk | None | Low | Default movement through corridors |
| Crouch-walk | None | Very low | Near monster patrols, searching desks |
| Sprint | High | Loud | Last-second escape, long open hallways |
| Vault desk | Medium | Loud thud | Emergency dodge, breaks line of sight |
Rule of thumb: if you cannot see the Cat in the Hat on screen, assume it is around the next corner and crouch-walk. Sprint only when the chase music starts and you are already at least one room away from the exit door.
The Spawn Safety Window
The first 10–15 seconds of every round behave like a soft tutorial: the monster is locked into a short scripted patrol at the far end of the building, and the classrooms nearest spawn are quiet. Most new players waste this window spinning the camera or re-binding keys. Instead, do these three things in order:
-
Turn around, face the hallway, and listen for the chase music. The cue starts about eight seconds after the round timer begins.
-
Crouch-walk to the nearest classroom door on your side of the building and look for the first key.
-
Memorize the direction of the glowing green exit sign above the main doors so you always know which way is "out."
Treat that opening window as a paid information-gathering phase rather than free prep time: the monster's scripted patrol is finite, so every second you spend memorizing exit sign direction, classroom key spawn patterns, and hallway choke points now translates directly into shaved seconds when the chase music kicks in and stamina management becomes the only thing standing between you and a failed scream and run escape. New players who skip this phase typically waste 5–8 panic seconds reorienting after the hunt starts, which is the difference between reaching the lobby and getting caught on the first corner. Build the habit of marking two key locations and one emergency hiding spot before the patrol ends, and your scream and run how to play loop becomes repeatable instead of reactive.
The 5-Key Objective: Where to Look and How to Prioritize
The win condition is straightforward — collect five keys and unlock the front exit. The challenge is that the keys are scattered across the school, some are inside monster-patrolled zones, and your stamina bar will not let you sprint between every classroom in a straight line.
Key Spawn Tiers
| Key # | Typical Location | Risk Level | Looting Tip |
|---|---|---|---|
| Key 1 | Near spawn, side classroom | Low | Always grab this first to learn the desk interaction |
| Key 2 | Central hallway lockers | Medium | Wait for the Cat to walk away, then dash in |
| Key 3 | Library or back office | Medium | Check bookshelves, not just desks |
| Key 4 | Cafeteria or gym | High | Best grabbed with a partner distracting the monster |
| Key 5 | Near the exit door | High | Often requires chaining an escape move right after pickup |
Keys are not on a fixed spawn list — every round shuffles the five locations. Community reports across Roblox discussion threads suggest that Key 1 is almost always within two rooms of spawn, while Key 5 tends to spawn inside the monster's main patrol path. Plan your first key grab for a classroom adjacent to spawn, and treat the rest of the building as a series of timed dashes rather than a continuous search.
Looting Interactions You Should Know
Each key spawn is hidden inside an interactable object: desk drawers, locker doors, backpacks on the floor, and the occasional chalkboard cabinet. The interaction prompt shows a small key icon and a short progress bar. If the bar is interrupted — by sprinting, jumping, or the monster getting close — the prompt cancels and the key does not drop. This is the most common reason new players think a key is "missing."
Crouch in front of the interactable, wait one second to confirm no audio cue is playing, and only then start the interaction. For a deeper breakdown of which classrooms hold which interactables, the how to unlock everything in Scream And Run guide maps every object category in detail.
Stealth and the Cat in the Hat: Reading Patrol Patterns
The Cat in the Hat is the only monster on night one, and it runs on a simple AI loop: patrol a fixed route, briefly chase any player it sees, and then return to its path. Once you understand the loop, the entire Scream And Run escape guide becomes about timing rather than reflexes.
Reading the Audio
The Cat AI cycles through three distinct sound layers in a fixed order, and learning that sequence is what separates survivors who reset early from those who get cornered. Audio is the only reliable early-warning system in Scream and Run because the monster itself stays off-screen until line of sight is forced, so trusting your ears instead of your camera is the foundational habit this beginner guide keeps returning to.
-
Soft piano music — the Cat is patrolling normally. Safe to loot, but keep line-of-sight breaks ready.
-
Chase music sting — the Cat has detected a player. Drop whatever you are doing, crouch, and break line of sight.
-
Silence — either the Cat is far away, or it is actively hunting. Use the safe-room bell to confirm.
The moment the chase music stings, your priority switches from looting to breaking line of sight. Corners, closed doors, and desks with a hard "hide" prompt are your only real defenses. Sprinting away in a straight line almost always fails because the Cat's patrol speed matches your sprint speed on a flat surface.
Safe Rooms and Hiding Spots
| Hide Type | Works Against | Limit |
|---|---|---|
| Locked classroom (door closed) | Audio detection only | Cat can break the door if it sees you enter |
| Under desk | Visual detection | Cat will pull you out if it gets within melee range |
| Hallway corner | Line of sight break | Only works for a few seconds — keep moving |
| Stairwell | Resets aggro | One-way use, monster may re-approach from above |
If you are searching on console, the Scream And Run console controls breakdown covers the exact button mapping for crouch, hide, and quick-slot key drops. Knowing those inputs by reflex is what separates a player who escapes from one who panics.
First Escape Plan: A Beginner-Friendly Route
A good first-night route has three properties: it visits low-risk zones first, ends near an exit door, and never requires you to cross the same hallway twice. The route below is designed for solo players, but it scales well to duos if you split key collection along the way.
Solo Route (5–8 Minutes)
-
Spawn classroom → Key 1 (side classroom, ~20 seconds). Use the safe spawn window.
-
Move along the left wall to the library. Crouch-walk, check the second key on the bookshelves.
-
Library → Central hallway lockers for Key 3. Wait for the Cat to pass, then dash in and out.
-
Drop to the cafeteria for Key 4. This is the highest-risk section — if the chase music starts, retreat to the library and try again next loop.
-
Grab Key 5 from whichever room is closest to the green exit sign. Chain the unlock with a sprint to the front doors.
If you are running with a friend, hand the cafeteria or gym key to them and have them act as a distraction while you pull Key 5. The community calls this a "bait-and-pull" and it is the most common pattern in the Scream And Run easy escape playbook for duo runs.
Common Night-One Mistakes
-
Sprinting at spawn to "look around faster." You will arrive at the first classroom with no stamina and zero audio cues, and the Cat will catch you within thirty seconds.
-
Searching the same room twice. If a desk has no key, it will not have one. Move on.
-
Hiding in the same spot every time. The Cat's AI learns to re-check corners after a few rounds, and on night two the patrol pattern tightens.
-
Ignoring the exit door animation. The unlock sequence takes about four seconds and locks you in place. Make sure the hallway is clear before you start it.
For a complete step-by-step route through every room, the Scream And Run full walkthrough expands this five-step plan into a turn-by-turn map, including which desks in classroom 2B hold the second key, the safe detour past the library vent where the Cat's audio cue range is widest, and the exact hallway corner where you should trigger the exit door animation so you are not boxed in by the night-one patrol reset.
Progression Beyond Night One: What Changes After Your First Escape
Your first successful escape is not the end of Scream And Run — it is the unlock condition. Once you crack the five-key loop, the game begins layering in harder patrol routes, faster monster speeds, and additional threats. Knowing what to expect helps you decide which upgrades to chase first.
Night-by-Night Difficulty Curve
| Night | Monster | Change | Beginner Adjustment |
|---|---|---|---|
| Night 1 | Cat in the Hat | Standard patrol | Use the route above, focus on the 5-key loop |
| Night 2 | Cat in the Hat | Faster patrol, more sensitive audio | Cut sprinting entirely, crouch-walk everywhere |
| Night 3 | Cat in the Hat + secondary enemy | New monster added | Pair up, use bait-and-pull |
| Night 4+ | Both monsters enrage | Shorter chase cooldown | Memorize safe rooms, save stamina for the final door |
The best Scream And Run strategy guide covers how the meta shifts once both monsters are on the map, including when to split up, when to regroup, and which rooms become deathtraps after night two.
Upgrades and Unlockables
Escaping grants you a small currency reward plus a "survived" badge that unlocks cosmetic items and one-time perks. According to player reports across the community, the most useful beginner unlocks are tied directly to a few common death causes: sprinting blindly into a patrolling Screamer, missing the last key in a dark wing, or running out of stamina halfway down a corridor. Prioritizing upgrades that counter those specific failure modes will shorten your learning curve on the first five nights far more than chasing cosmetic badges or one-time emote rewards.
-
Quiet Shoes — reduces footstep audio by roughly 20%, great for solo runners.
-
Key Compass — highlights the nearest uncollected key on screen for a short window.
-
Stamina Boost — small bump to the stamina bar, lets you chain one extra sprint per round.
Each upgrade only needs a few clean escapes to unlock, and they stack — by your tenth night you should have a full loadout that makes solo runs noticeably smoother. If you want a deeper look at how these upgrades interact with hard-mode patrols, the how to unlock everything in Scream And Run page includes a full unlock tree.
Frequently Asked Questions
How long does a Scream And Run round take?
A typical round lasts between 5 and 10 minutes depending on how quickly you find the five keys. Fast solo players can clear the school in about 6 minutes, while cautious groups often take 8–10 minutes. The in-game timer starts the moment you leave the spawn classroom.
What happens if the Cat in the Hat catches you?
The round ends instantly and you respawn back at the spawn classroom with no keys collected. There is no health bar and no second chance — getting caught resets your entire progress, which is why stealth is more reliable than sprinting.
Can I play Scream And Run with friends?
Yes. Up to four players can join a single server, and cooperative play is actually easier than solo because you can split up to cover more classrooms. Just remember that the Cat's audio detection still hears all players, so spreading too thin can cause early chases.
Is there a way to know where the keys spawn each round?
The exact key locations shuffle every match, but the spawn tier pattern is consistent: one key near spawn, two in mid-risk zones, and two in high-risk rooms. Listening for the soft piano music and watching the green exit sign helps you orient without a fixed map.
What should I upgrade first after my first escape?
Community data strongly suggests unlocking Quiet Shoes first, followed by the Key Compass. Quiet Shoes makes every future run safer regardless of your skill level, while the Key Compass removes the trial-and-error searching that wastes the most time on early nights.