
Maps
Every Scream And Run map explained: the School with the Cat in the Hat and the dark Mines with Dark Thomas. Layouts, exits, backpack spawns and the fastest routes to freedom.
Introduction
The Maps hub covers every playable location in Scream And Run. The game currently ships two maps: the School, a multi-floor building where the Cat in the Hat roams the classrooms and hallways, and the Mines, a dark underground network added in the September 2026 update where Dark Thomas the Train hunts you through the tunnels. Each map has its own layout, its own monster and its own escape route, so learning the differences is the key to faster, safer runs. On this page you will find classroom and hallway layouts, backpack spawn tendencies, hiding spots, exit locations and the fastest routes from spawn to freedom. We keep the guides updated whenever a patch changes a map, and we clearly mark community-reported details that are still being verified, especially for the brand-new Mines map.
Map Reference
| Area | Monster | Layout | Exit |
|---|---|---|---|
| School Map | Cat in the Hat | Classrooms, hallways, lockers | Main exit door |
| Mines Map | Dark Thomas | Dark tunnels and shafts | Underground exit |
| Key & Backpack Spawns | Both maps | Random spawns every round | Search every room |
| Hiding Spots | Both maps | Lockers, under desks, corners | Survive patrols |
Map Breakdown
School Map
The release map where the Cat in the Hat hunts you
Mines Map
The dark underground map added in the September 2026 update
Spawn Areas
Where keys, backpacks and items tend to appear on both maps
Hiding Spots
The safe places that keep you alive when the monster patrols
Exit Routes
The fastest paths from spawn to freedom on each map
Core Mechanics
Each Scream And Run map is built around the same escape loop but with a different layout and a different monster. The School is a classic interior: classrooms line the hallways, lockers sit against the walls, and the main exit is on the ground floor. The Cat in the Hat patrols these corridors on unpredictable routes, reacting to sight and sound. The Mines, added in September 2026, trades the school building for dark underground tunnels with tighter sight lines and a new monster, Dark Thomas, whose behavior is still being documented by the community. On both maps, 5 exit keys and useful items spawn randomly in backpacks, desks, lockers and hidden corners, so map knowledge — knowing which rooms exist, where the spawn points tend to appear and where the exits are — directly translates into faster, safer rounds.
Advantages
Learning the maps is the single biggest advantage you can give yourself in Scream And Run. Players who know the School classroom layouts search rooms in a logical order instead of wandering, which cuts key-collection time dramatically. Knowing where hiding spots are lets you survive patrols without panicking, and memorizing the exit location means you can make a final sprint the moment the last key is found. The Mines map rewards the same preparation: players who study the tunnel layout avoid dead ends and react faster to Dark Thomas. Since key spawns randomize every round, map knowledge does not guarantee a win, but it consistently reduces the time you spend exposed and the number of times you get caught.
Challenges
The Mines map is still very new, and community sources do not fully agree on its key count, spawn rates and Dark Thomas behavior details, so some map guide values are estimates that may change. The School map also has randomized spawns every round, which means no map guide can tell you exactly where the 5 keys will be in a given match — you still need to search. Long hallways on the School map create dangerous open sight lines that are hard to cross safely, and the dark tunnels of the Mines make navigation tricky without the flashlight, which itself can reveal you. Treat the layouts and spawn tendencies here as strong guides, not guarantees, and adapt to each round as it plays out.
Frequently Asked Questions
How many maps are in Scream And Run?+
Which map should I learn first?+
Do key spawns change every round?+
Quick Tips
Learn the School perimeter before the interior. Classroom doors on the outer ring hold most of the searchable furniture, and looping the perimeter first means you rarely cross the same room twice during a key hunt. A tidy route keeps your noise footprint low and your progress clear. Staying organized also makes it easier to remember which rooms still need a second look.
Mark hiding spots as you search. Whenever you pass a locker or a desk that could hide you from the Cat in the Hat, remember it. When a chase starts, a remembered hiding spot is worth more than a panicked search. A remembered hideout turns a lost chase into a safe wait.
Use Free Roam to test the Mines map before Escape mode. The dark tunnels are easy to get lost in, and learning the exit route without a monster chasing you makes your first real Mines run dramatically safer. Free Roam practice removes the panic factor from your first real run.
Featured

Scream And Run All Maps Guide: Sizes, Layouts, and Unlock Order
Compare every map in Scream And Run with this all maps guide: layout sizes, monster spawns, key counts, and which map gives the smoothest escape route.
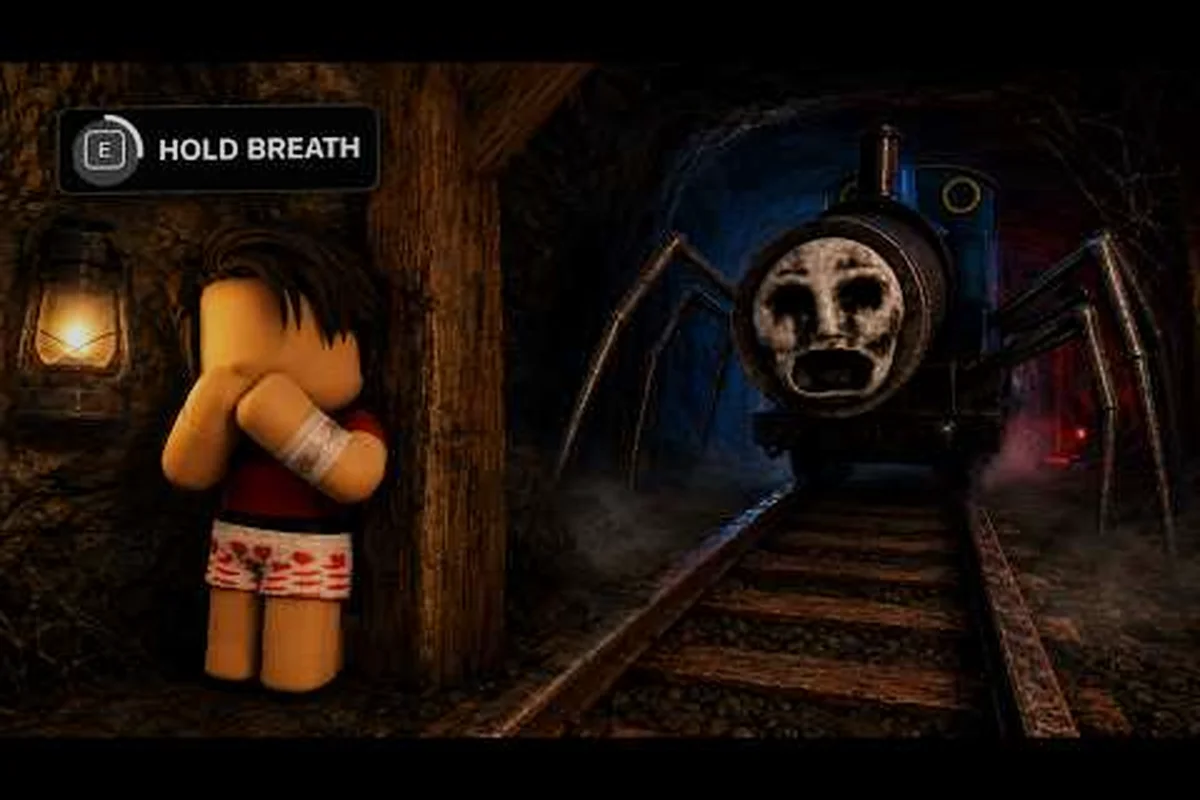
Scream And Run Mines Layout: Corridors, Loot, and Hidden Rooms
Master the Scream And Run mines layout with a full tunnel-by-tunnel map, Dark Thomas patrol zones, key room order, and the fastest route to the exit.
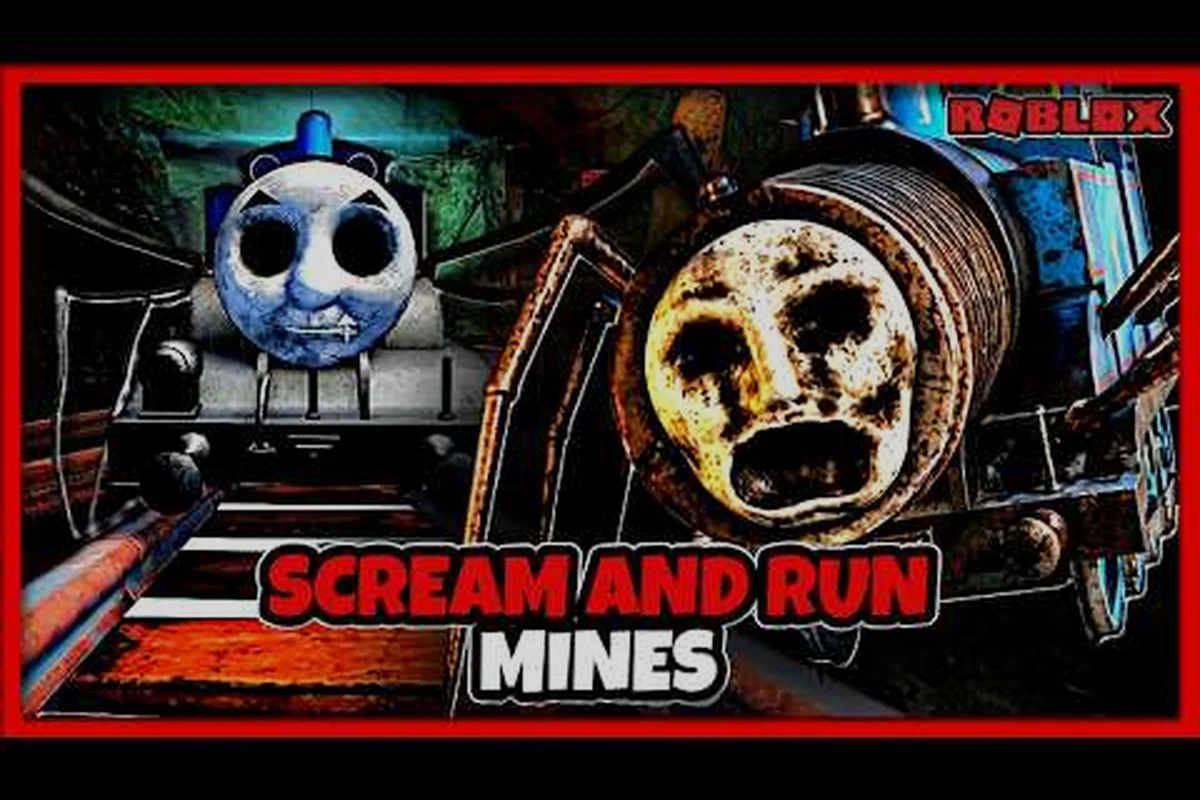
Scream And Run Mines Walkthrough: Escape Every Room Alive
Follow this Scream And Run mines walkthrough room by room: torch lighting tricks, Dark Thomas dodge patterns, and the exact steps to collect keys and escape.
All Articles
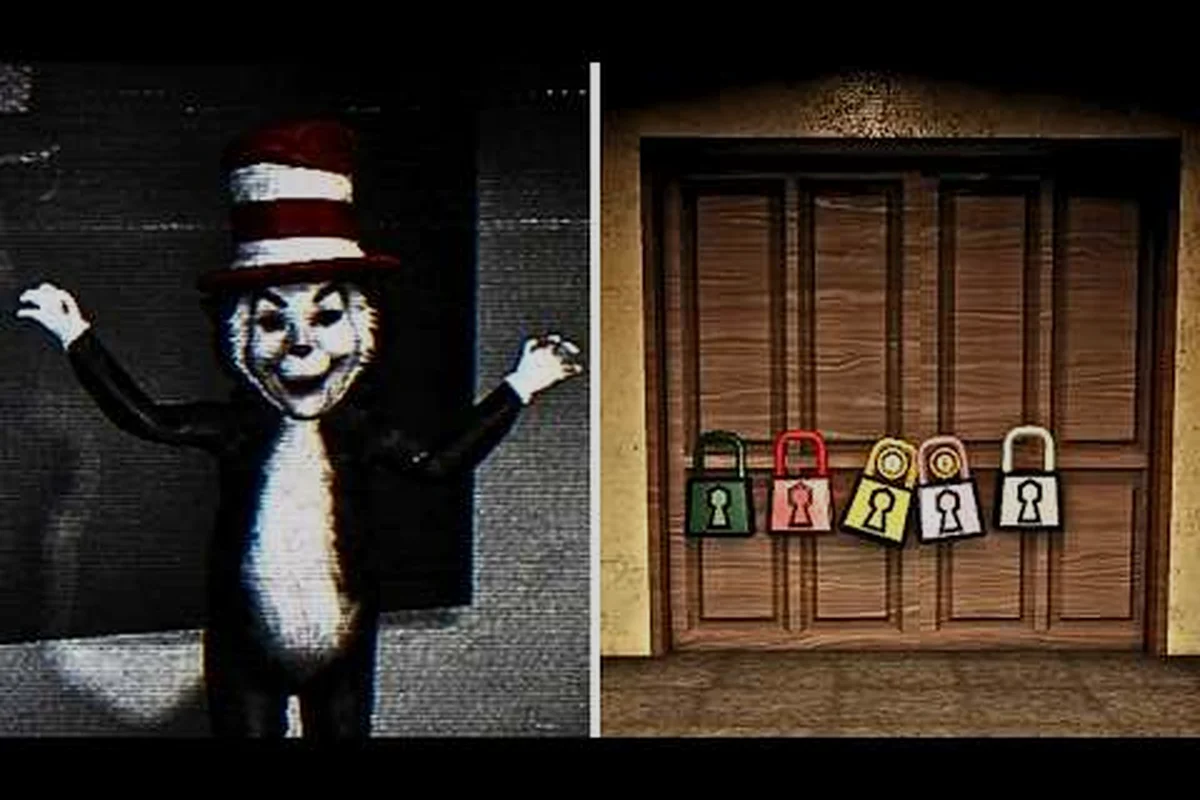
Scream And Run School Map: Floor Layout and Locker Zones
Explore the full Scream And Run school map: every floor layout, classroom hotspots, locker hiding points, and where all 5 keys spawn before the Cat finds you.

Scream And Run School Map Walkthrough: Spawn to Exit
Complete the Scream And Run school map walkthrough from nighttime spawn to final exit, covering every hallway, classroom key spawn, and patrol timing.

Scream And Run Basement Map: Dark Halls, Keys, and Secrets
Navigate the Scream And Run basement map with full layout details, dim-light danger zones, backpack loot spots, and the hidden rooms most players miss.
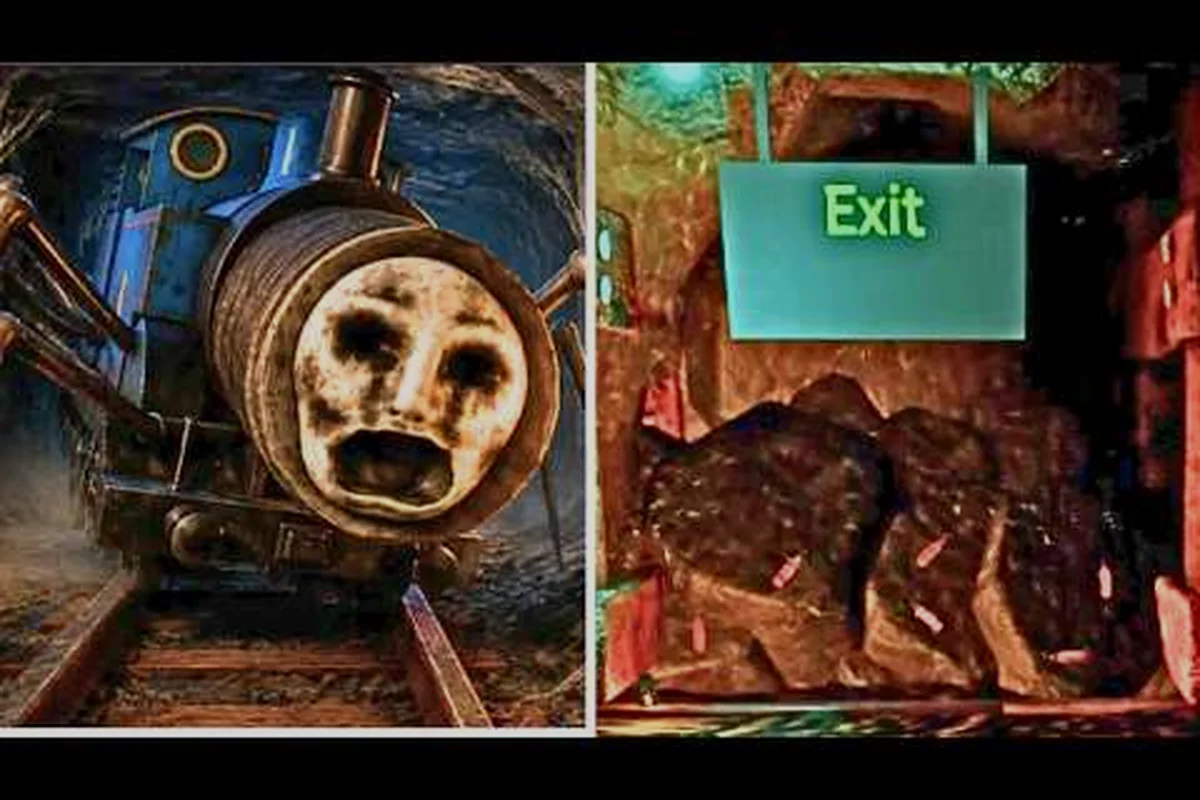
Scream And Run Mines Update Map Guide: Tunnel Escape
Explore the Scream And Run mines update map with tunnel routes, key room order, hiding spots, and the fastest exit path through the dark underground.