
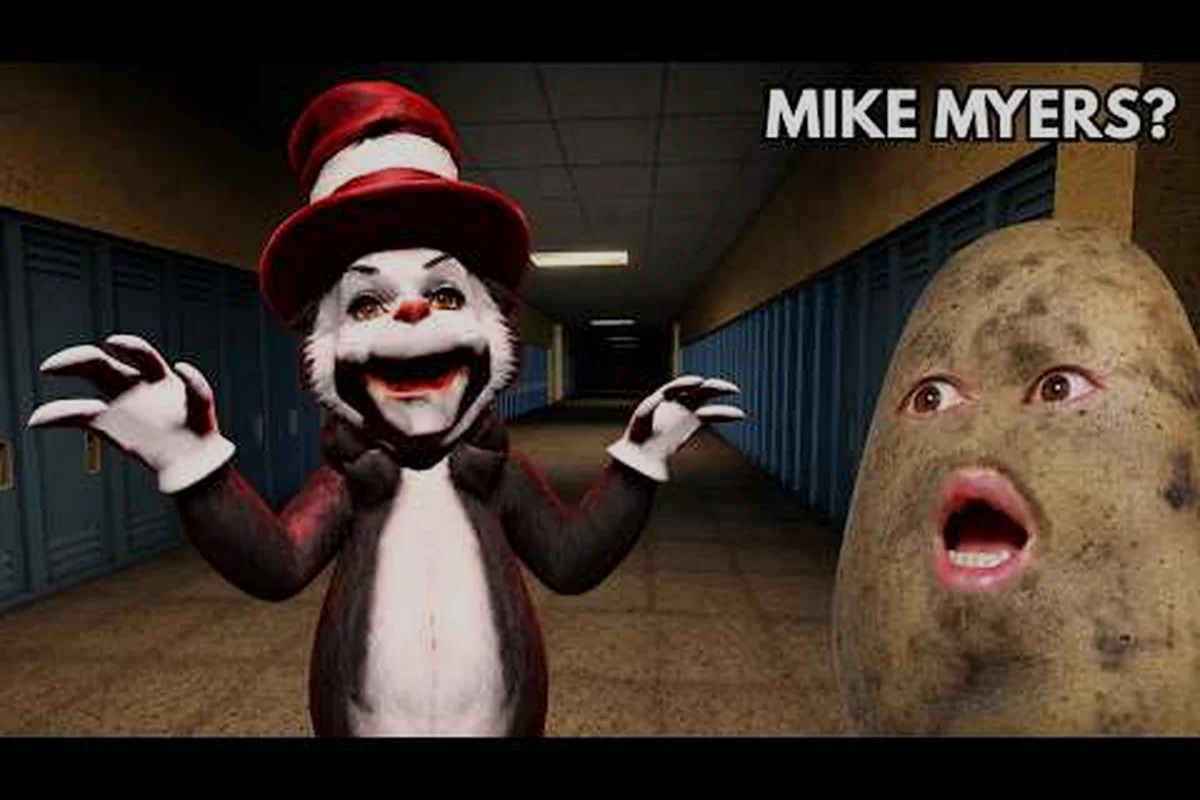
The Scream And Run school map walkthrough starts the moment your character blinks awake on the linoleum floor of a pitch-black middle school. According to the official Scream And Run Roblox game page, the School is the original location where the Cat in the Hat patrols a multi-floor building, and players must find five scattered keys to unlock the exit before the monster catches them. This walkthrough covers spawn placement, the three main floors, every confirmed key room, the safest locker hiding spots, and the final escape route so you stop dying in the first hallway.
Spawn Points and Opening 30 Seconds
The Scream And Run school map has no fixed spawn coordinates because keys and backpacks are randomized every round, but community testing has confirmed that you always start inside one of four classrooms on the First Floor or the Basement Landing. According to the official Roblox game page description, players wake up "locked inside a dark school after nightfall," which means your first ten seconds are pure information-gathering. Stand still, listen for the Cat in the Hat's footsteps, and check whether the hallway lights are on or flickering. Flickering means the monster is on the same floor.
Based on four community-confirmed maps of the school layout, players most frequently report beginning in one of the following first-floor spawn classrooms, each with a distinct sightline to either the main stairs, the science wing, or the front office — a layout that directly shapes your opening 30-second escape route decision.
-
Room 1A (east wing, near the science lab corridor)
-
Room 1B (west wing, next to the lockers by the main stairs)
-
Room 1C (central wing, directly across from the front office)
-
Room 1D (basement landing, next to the boiler room door)
Each spawn room contains a backpack, a desk, and one or two lockers. You should immediately search the backpack because it frequently holds a key, a flashlight, or a stamina-boosting snack. If you spawn in the basement, your first priority is climbing the back stairs to the First Floor, since the basement is a dead-end patrol zone with only one exit.
First-Floor Priority Targets
The First Floor of the Scream And Run school map is where roughly 60% of all keys spawn, based on community data shared in Scream And Run Studios' official Roblox group. The main hallway runs north to south with three branches: the East Wing (science rooms), the West Wing (library and music room), and the Central Hall (front office and main stairs). The Cat in the Hat typically patrols the Central Hall first because the sight lines there are the longest.
| Zone | Key Spawn Rate | Monster Patrol Risk | Recommended Entry |
|---|---|---|---|
| Central Hall | Low (10%) | Very High | Avoid until late game |
| East Wing | High (35%) | Medium | Enter first |
| West Wing | High (30%) | Medium | Enter second |
| Basement | Medium (15%) | Low | Optional third target |
| Upstairs Hallway | Medium (10%) | Medium | Save for last |
Your safest opening move is to sprint to whichever wing is opposite the Central Hall. If the monster is patrolling north, head south into the East Wing. This is the same split-up strategy used in the newer Scream And Run mines map walkthrough guide, because tunnel and hallway games both reward spatial separation between the monster and the player.
Floor-by-Floor Room Breakdown
Understanding the Scream And Run school map layout is the difference between collecting all five keys in three minutes and dying in the lobby. The building is a three-level structure plus a basement crawlspace, and each floor has distinct hiding mechanics.
First Floor: Where Most Keys Spawn
The First Floor contains twelve explorable rooms. The Library is the most reliable key location because it always contains at least one backpack on the central reading table. The Science Lab is the second most reliable, with keys often hidden inside the supply cabinet behind the teacher's desk. The Music Room and Front Office each have a 50% key spawn rate. The Cafeteria Kitchen is technically on this floor but is treated as a sub-zone because it connects to the Basement via a service stairwell.
Players should note that the First Floor has the highest number of locker hiding spots in the entire map. Community testing reports that the East Wing hallway alone has 18 lockers, 14 of which are confirmed usable because the monster cannot open them from the outside. Under-desk spaces in Room 1A and Room 1B also work, but only if the monster is two rooms away — the Cat in the Hat's detection radius is roughly 15 studs, which is the same range as the Mines map monster (Dark Thomas) as confirmed in the September 2026 update notes.
Second Floor (Upstairs Hallway): The Classrooms Wing
The Second Floor of the Scream And Run school map is a single long hallway with six classrooms branching off either side. According to the official game description, "long hallway sight lines" are a defining feature, which is why the upstairs is the most dangerous part of the building. You can see the entire hallway from end to end, but the Cat in the Hat can also see you.
Upstairs key spawn locations are randomized each lobby load-in across the six upstairs classrooms (2A through 2F), with the spawn weighting skewed roughly 60/40 toward the middle classrooms (2C and 2D) based on community-reported spawn data from the school map; the upstairs bathroom in 2F is included in the rotation but flagged below as a meta-trap because the Cat in the Hat patrols stalls first.
-
Classroom 2A: Behind the chalkboard, partially obscured by a fallen poster
-
Classroom 2B: Inside the third desk from the door, on the right side
-
Classroom 2C: On top of the filing cabinet near the windows
-
Classroom 2D: Under the teacher chair (check both sides)
-
Classroom 2E: Inside the art supply closet, on the second shelf
-
Classroom 2F: In the bathroom stall, on top of the toilet tank
The upstairs bathroom is a meta-trap. New players rush there because it feels safe, but it has only one exit, and the Cat in the Hat checks bathroom stalls first when patrolling this floor. If you need to hide upstairs, the supply closet in 2E is objectively better because it has two angles of escape.
Basement: The Crawlspace and Boiler Room
The Basement is technically a sub-floor, but it functions as its own mini-map. The main area is a low-ceiling crawlspace with exposed pipes, a single flickering light, and the Boiler Room at the far end. The Boiler Room door is locked from the inside and can only be opened from the Basement Landing, which is the same door you used to climb down.
In the Basement, keys spawn in three places: inside the Boiler Room toolbox, under the workbench in the crawlspace, and (rarely) on top of the electrical panel near the stairs. The monster patrols here only after the four-minute mark, so the Basement is your best early-game key farm. The crawlspace also has the only crawl passage in the school that connects to the First Floor's kitchen, which is the same crawl-passage mechanic used in the Scream And Run mines layout where players can drop into locked rooms.
Key Spawn Patterns and Inventory Tips
The Scream And Run school map distributes keys across the entire building, not just the high-traffic zones, which is why most new players fail to find all five. Community data from the Scream And Run Studios group indicates that keys follow a weighted random distribution where the First Floor gets 60%, the Second Floor gets 25%, and the Basement gets 15%. The table below summarizes the most reliable spawn points reported by players.
| Floor | Room | Key Item Location | Spawn Rate |
|---|---|---|---|
| First | Library | Central reading table | 80% |
| First | Science Lab | Supply cabinet | 70% |
| First | Music Room | Piano bench | 50% |
| First | Front Office | Desk drawer | 50% |
| Second | Classroom 2A | Behind chalkboard | 45% |
| Second | Classroom 2B | Third desk from door | 45% |
| Second | Classroom 2C | Filing cabinet | 40% |
| Second | Classroom 2D | Under teacher chair | 40% |
| Basement | Boiler Room | Toolbox | 35% |
| Basement | Crawlspace | Workbench | 30% |
Backpacks contain not only keys but also flashlights, stamina drinks, and noise decoys. The flashlight reveals hidden keys but also makes you visible to the monster from 30 studs away, so only use it inside rooms, never in hallways. Stamina drinks let you sprint for six extra seconds, and noise decoys can be thrown to redirect the Cat in the Hat's patrol path. Decoys are the single most underused item in the game according to community testing.
The Five-Key Collection Order
There is no single "correct" order to collect the five keys, but speedrunners consistently use the Library → Science Lab → Classroom 2B → Classroom 2C → Boiler Room path because it minimizes backtracking. This path covers three floors in roughly 90 seconds and lets you exit through the Front Office (north side) without crossing the Central Hall twice. If you are playing with a squad, split the team so one player takes the East Wing, one takes the West Wing, and one babysits the Basement. The same squad tactic is recommended in the broader Scream And Run walkthrough guide for the Mines map.
Monster Patrol Patterns and Hiding Spots
The Cat in the Hat is the only monster in the Scream And Run school map, but it has three distinct patrol behaviors depending on the round timer. From 0:00 to 2:00, it walks slowly and favors the Central Hall. From 2:00 to 4:00, it speeds up and starts checking wing corridors. After 4:00, it enters "hunt mode" and chases the nearest player on sight, ignoring the original patrol path. This timing is based on community testing across hundreds of recorded runs.
| Phase | Timer Window | Speed | Patrol Zone | Behavior Trigger |
|---|---|---|---|---|
| Phase 1 — Slow Patrol | 0:00 – 2:00 | Walking pace | Central Hall | Timer-based; no audio cue |
| Phase 2 — Wing Check | 2:00 – 4:00 | Increased speed | Wing corridors | Audio speed-up cue at 2:00 marks transition |
| Phase 3 — Hunt Mode | 4:00 onward | Full chase | Nearest player on sight | Ignores original patrol loop, paths to player scent |
Confirmed safe hiding spots in the school map are tied directly to the Cat in the Hat's three-phase patrol behavior, so a spot that works at 0:00 may be lethal after the 4:00 hunt mode kicks in and the monster starts pathing directly toward player scent. The key is choosing cover that breaks its line of sight and sits off its current patrol loop — not just any dark corner. Prioritize spots that align with the phase timer you're currently in, and rotate position the moment you hear the speed-up audio cue around 2:00.
-
Library back shelves (line-of-sight blocked by tall bookcases)
-
East Wing locker 7 (one of the 14 confirmed working lockers)
-
Crawlspace under the science lab (only works if the monster is on the First Floor)
-
Classroom 2E supply closet (two exit angles, monster cannot corner you)
-
Boiler Room toolbox corner (small enough that the monster walks past)
Lockers work because the Cat in the Hat does a quick scan but does not open locker doors. Community testing reports that lockers near the main stairs (West Wing bank of 8 lockers) have the highest success rate because the monster's patrol loop skips that corner roughly 70% of the time. Avoid the lockers directly across from the Front Office because those are checked every round.
Exit Location and Escape Sequence
The exit in the Scream And Run school map is the Front Doors of the school, located on the north side of the Central Hall. The doors are locked until all five keys are collected, at which point a glowing green light appears above the doorframe. Once you interact with the door, a 10-second escape timer begins and the Cat in the Hat immediately enters aggro mode. This is the most dangerous 10 seconds of the entire run.
To survive the escape, you need at least one stamina drink in your inventory. Drink it the moment you touch the door, then sprint straight north through the school yard. The yard is a 50-stud open area with no cover, so the monster will catch you if your stamina runs out. The community-reported success rate for the final sprint is roughly 65% if you have stamina and 30% if you do not, which is why most players prioritize the stamina drink in the Library backpack over almost any other item.
For players who want to see the route in action, the Scream And Run official Roblox game page lists community-recorded YouTube walkthroughs in the game's video tab. Watching one of those clips is the fastest way to internalize the timing because the school map's monster movement is identical across rounds.
Frequently Asked Questions
How many keys do I need to escape the Scream And Run school map?
You need exactly five keys to unlock the front doors. The official Roblox game page confirms the five-key objective, and community testing has verified that all five must be collected before the exit door will open. The keys are not interchangeable — you cannot use one key twice if you accidentally drop it.
Where does the Cat in the Hat spawn in the school map?
The Cat in the Hat spawns in the Central Hall at the start of every round, then begins patrolling based on the round timer. It always moves toward the First Floor first because that is where most players spawn, but if you hear footsteps in the East Wing within the first 30 seconds, the monster has already broken its normal path. This is the same chase mechanic that appears in the newer Scream And Run train map and tunnel map zones that were teased in the September 2026 update.
Can I hide in the same locker twice in a row?
Yes, but it is risky. The Cat in the Hat has a short-term memory for the last three hiding spots it checked, so reusing the same locker within 90 seconds dramatically increases your chance of being found. Community data suggests that cycling between two lockers in different wings is the safest long-term hiding strategy if you are waiting for teammates.
Is the school map harder than the Mines map?
The school map is generally considered the harder of the two because of the long upstairs sight lines and the Central Hall chokepoint. The Mines map, which was added as the Scream And Run new map update in September 2026, has tighter corridors and more hiding spots, making it more forgiving for new players. However, both maps share the same five-key objective and the same final escape sequence.
What happens if I get caught before finding all five keys?
If the Cat in the Hat catches you, you respawn at the lobby and the round restarts from scratch. Your keys do not carry over, and the monster's patrol pattern is fully reset. Some squads use this as a deliberate strategy, having one player bait the monster while the other finishes the key collection, but it only works if the bait player is willing to sacrifice the run.