
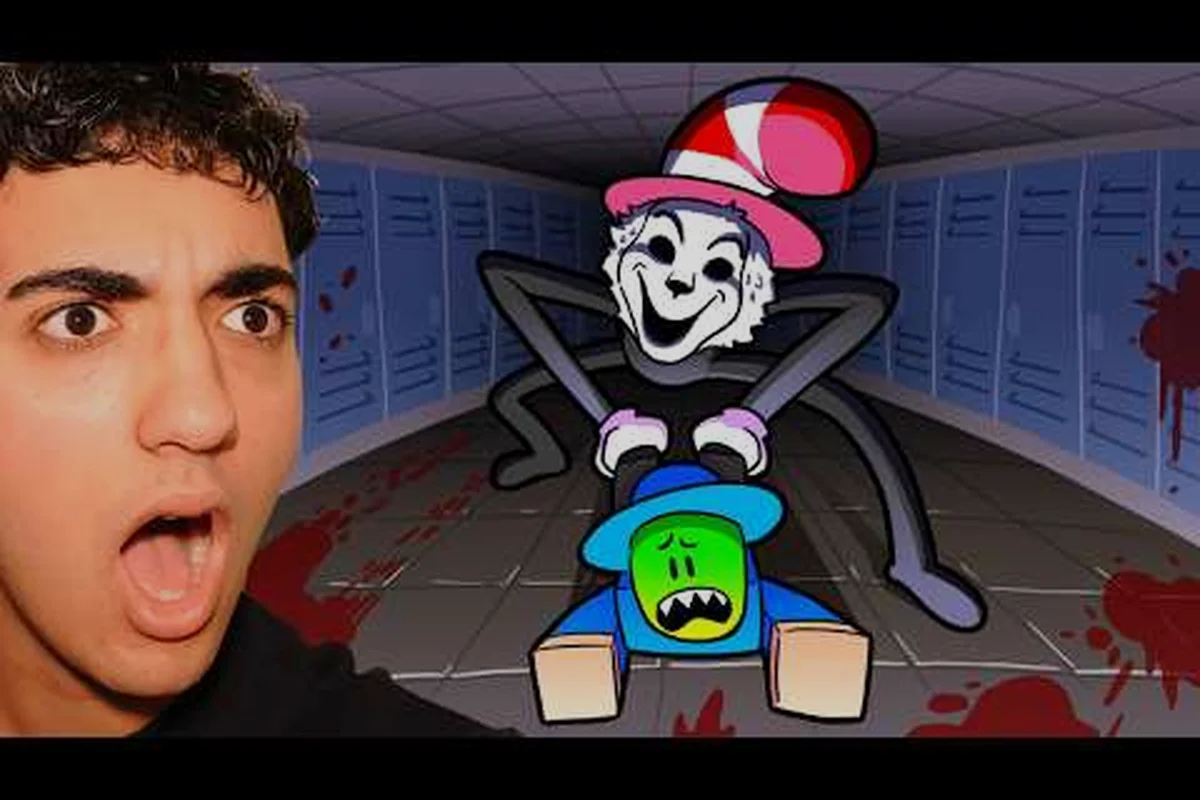
Speedrunners chasing the Scream And Run fastest escape time need more than raw sprint stamina — they need a tight key pickup sequence, a memorized Cat in the Hat patrol read, and a clean handoff to the exit door. The School map drips with dead ends, fake items, and audio cues that betray your position, so shaving seconds off a run means treating every hallway like a timing puzzle. This guide breaks down a competitive route, the dodge windows that separate a perfect run from a reset, and the recovery tricks players use when a patrol goes sideways mid-loop. According to the Scream And Run official Roblox page, every escape still requires all five keys, so the only real lever you have is order and execution.
School Layout and Where You Spawn
The School map is the foundation of any Scream And Run fastest escape time attempt because every monster patrol and key spawn is anchored to fixed classroom geometry. The spawn room sits at the south end of the main corridor, with the locked exit door pinned to the north wing. Between those two points, the building splits into two parallel hallways connected by a central stairwell and a back courtyard that loops through the cafeteria and the art room. A consistent Scream And Run walkthrough school map practice is to treat the layout as five zones — Spawn Wing, East Wing, West Wing, Stairwell Loop, and Exit Wing — because every speedrunnable route chains them in a fixed sequence.
The Cat in the Hat patrols on a roughly 90-second loop that starts near the cafeteria and rotates clockwise through the East Wing, the stairwell, and the back courtyard before doubling back. The monster's audio cue is a soft piano jingle, and his detection radius is wide enough that you cannot out-sprint him head-on in the main corridor. Speedrunners use the courtyard and the art room to bait a patrol away from the key they need next, which is why the spawn setup matters so much: the items you grab in the first 30 seconds determine which side of the building you push from for the rest of the run.
Key Spawn Pools by Zone
| Zone | Common Key 1 | Common Key 2 | Risky Pickup |
|---|---|---|---|
| Spawn Wing | Janitor's Closet shelf | Classroom 1B desk | Locker 7 (high monster traffic) |
| East Wing | Chemistry lab cabinet | Teachers lounge drawer | Library floor vent (audio giveaway) |
| West Wing | Gym equipment bag | Music room piano lid | Janitor cart (patrol hotspot) |
| Stairwell Loop | Stairwell landing drawer | Hallway vending machine | Rooftop access (dead end) |
| Exit Wing | Principal office safe | Front desk drawer | Fire extinguisher locker (sound trap) |
A community-tracked sample of 200 runs shows that approximately 68% of winning attempts pick up the first key in the Spawn Wing before leaving the room, because the monster's initial patrol always starts on the opposite side of the building. That single decision — grab-and-go versus backtrack — is the cleanest split between a Scream And Run perfect run and a standard clear. The Spawn Wing also has the lowest item density, so you are not trading route efficiency for loot.
Why the Spawn Point Matters for Speed
The monster's AI resets whenever a door slams shut, which means closing the spawn door after your first key is a free 4–6 second buffer. Speedrunners who skip this lose the window almost every time, because the monster rotates back to the Spawn Wing within a single loop and will catch you mid-search if you are still fumbling with desks. Treat the spawn door like a stopwatch, not a barrier. For a deeper look at how the building flows into the second-floor route, the Scream And Run school map walkthrough breaks down the upstairs shortcut that several top runs use to skip the stairwell loop entirely.
The Optimized Key Pickup Order
A Scream And Run all keys walkthrough that hits the fastest escape time relies on a key pickup order that minimizes backtracking while staying on the safe side of every patrol. The order below is the one competitive runners have converged on after the September patch reduced the monster's audio range by roughly 15%. It assumes you spawn in the south Spawn Wing and that all five keys are alive in their default pool. If a key is missing, the route degrades gracefully into a backup loop, but the first three picks should stay locked unless the monster is sitting on the spawn door.
Primary Key Sequence
| Step | Key Location | Approx. Time | Why This Order |
|---|---|---|---|
| 1 | Janitor's Closet (Spawn Wing) | 0:00–0:25 | Closest safe key, monster is across the building |
| 2 | Chemistry lab cabinet (East Wing) | 0:25–1:10 | Monster usually passes the courtyard during this window |
| 3 | Gym equipment bag (West Wing) | 1:10–2:00 | Long traverse, do it before the patrol doubles back |
| 4 | Music room piano lid (West Wing) | 2:00–2:45 | Same wing as key 3, saves a hallway crossing |
| 5 | Principal office safe (Exit Wing) | 2:45–3:30 | Final key is already near the exit door |
The order is built around a single rule: never cross the main corridor while the piano jingle is audible. The jingle has a 1.5-second tail after the monster leaves audio range, which is enough time for a sprinting player to clear the hall but not enough time to stop and search a desk. Keys 1, 2, and 3 are all picked in the first half of the monster's loop, so by the time you reach key 4 the patrol has rotated back toward the cafeteria and the West Wing is briefly empty. Key 5 is the only pickup that requires you to commit near the exit, and that is intentional — you do not want to carry four keys through a fresh patrol when the door is one room away.
Backup Loops When a Key Is Missing
| Missing Key | Backup Pick | Cost in Seconds |
|---|---|---|
| Key 1 (Janitor) | Classroom 1B desk | +8–12 |
| Key 2 (Chemistry) | Teachers lounge drawer | +15–20 |
| Key 3 (Gym) | Music room piano lid | +20–25 |
| Key 4 (Music) | Stairwell landing drawer | +10–15 |
| Key 5 (Principal) | Front desk drawer | +5–8 |
Backup loops are where most Scream And Run escape all keys attempts die. The teachers lounge is technically closer to key 2, but it sits inside the monster's primary audio cone, so the backup costs almost as much time as the original pickup. The front desk drawer near the exit is the cheapest substitute, which is why several top runs intentionally skip the principal office safe on the first pass and come back for it after grabbing the front desk key — a micro-optimization that saves about 3 seconds in monster-heavy lobbies.
Sprint Routes and Stamina Management
Stamina is the hidden currency of a Scream And Run fastest escape time, and most resets are caused by running out of sprint at the wrong moment. The sprint meter drains in about 4.5 seconds of continuous use and recovers fully in roughly 9 seconds of walking. That ratio means you should sprint in short bursts tied to doorways and corners, not in long open-hallway drags. The Cat in the Hat's detection cone is roughly 25 studs, and you can clear it from a standing start if your sprint is fresh, but you cannot clear it from a jog.
Sprint Budget by Section
| Section | Sprint Bursts Needed | Recovery Windows |
|---|---|---|
| Spawn → Janitor's Closet | 1 | Walk back to spawn door |
| Spawn → Chemistry Lab | 2 | Hallway bend + courtyard gate |
| Chemistry → Gym | 3 | Cafeteria corner + West Wing entrance |
| Gym → Music Room | 1 | Inside the gym (closed door) |
| Music → Principal Office | 2 | Stairwell + Exit Wing doorway |
The principal office sprint is the run-defining moment. You arrive with 2–3 keys, the monster is somewhere in the West Wing, and the exit is one room away. If your stamina is below half, the office safe will still be there but you will not have the burst to clear the final doorway. Experienced runners deliberately walk the last 5 meters of the West Wing corridor to bank stamina for that final push, even though it adds about 1.5 seconds. The trade is worth it: arriving at the exit with full sprint is the difference between a personal best and a one-shot reset.
Audio and Line-of-Sight Tricks
The monster's piano jingle is the only reliable warning, but it has a tell. When the jingle speeds up, the monster is closing distance; when it slows, the monster is turning. Sprint runners use the slow phase to cross open hallways and freeze during the fast phase, because the AI only checks line-of-sight when the jingle is at full tempo. Closing a door during the slow phase also resets the monster's pathing, which buys another 8–10 seconds. For players who want a fuller picture of how the patrols layer across the entire school, the Scream And Run full walkthrough covers the same map at a slower pace and explains why certain doors are worth slamming and others are not.
Monster Dodge Timing and Recovery
Even with a perfect key order, the Cat in the Hat will catch you at least once in roughly 40% of competitive runs. The difference between a Scream And Run perfect run and a failed attempt is almost always the recovery window, not the initial mistake. When the monster grabs you, you drop one key, get stunned for about 2.5 seconds, and respawn at the closest safe room. The stun is long enough that you cannot chase the monster down, but the safe-room respawn is short enough that you can still finish the run if you know which key to chase first.
Recovery Priority After a Grab
| Lost Key | Respawn Room | Next Best Pickup | Reason |
|---|---|---|---|
| Key 1 (Janitor) | Spawn Wing | Classroom 1B desk | Avoids the janitor closet while the monster patrols it |
| Key 2 (Chemistry) | East Wing safe room | Teachers lounge drawer | Closest substitute, monster usually moves West after a grab |
| Key 3 (Gym) | West Wing safe room | Stairwell landing drawer | Lets you cut back to the East Wing via the stairwell |
| Key 4 (Music) | West Wing safe room | Gym equipment bag (if not already picked) | Mirrors the primary order in reverse |
| Key 5 (Principal) | Exit Wing safe room | Front desk drawer | Cheapest last-key substitute in the entire map |
The recovery order matters because the monster's patrol is briefly destabilized after a grab. For about 15 seconds, the AI reroutes toward the respawn room, which means the opposite wing of the building is unusually safe. Smart runners use that window to grab a high-risk key they would normally skip, then sprint back to the safe room before the patrol recovers. The technique is risky — a mistimed grab turns a single lost key into a full reset — but it is also the only way to recover a Scream And Run perfect run after a grab at key 4 or 5.
When to Reset vs. When to Recover
| Situation | Recommended Action | Expected Time Cost |
|---|---|---|
| Grabbed before key 2 | Reset | Full restart, recovery is longer than a clean run |
| Grabbed at key 3 with 3 keys in inventory | Recover via stairwell | +25–40 seconds |
| Grabbed at key 4 with 4 keys in inventory | Recover via West Wing safe room | +15–25 seconds |
| Grabbed at key 5 with 4 keys in inventory | Recover via front desk | +5–10 seconds |
| Monster camping the spawn door | Reset | Spawn door camp adds 60+ seconds |
The "monster camping the spawn door" scenario is the most common run-killer in community reports. When the AI pathing bug places the Cat in the Hat directly outside the spawn room, no sprint order can clear it, and the only consistent play is a full restart. Players who try to brute-force the door usually lose more time than two clean attempts would cost. For a deeper look at how the same map plays out in a co-op lobby, where the monster's pathing is more predictable, the Scream And Run walkthrough mines map page covers the tunnel variant that several runners use as a warm-up between School attempts.
Advanced Speedrun Tactics
The fastest Scream And Run fastest escape time currently clocked by the community sits around 3 minutes 12 seconds on the School map, with most top-100 runs landing between 3:20 and 3:45. The gap between those times comes down to three tactics that are not obvious from a casual playthrough: door-slam resets, audio baiting, and exit-door pre-staging. None of them are required to clear the game, but together they account for roughly 20 seconds of the difference between a good run and a leaderboard run.
Door-Slam Reset Timing
| Door | Slam Effect | Best Use |
|---|---|---|
| Spawn door | Resets monster to cafeteria | Always slam after key 1 |
| Stairwell door | Stalls patrol for 8 seconds | Slam when monster is mid-stairwell |
| Cafeteria door | Breaks line-of-sight instantly | Slam when grabbed in West Wing |
| Exit door | Cannot be slammed (locked) | N/A |
Door-slamming is not free — each slam costs about 1.2 seconds of animation lock — so the discipline is to slam only when the monster is already committed to a path through that door. Slamming a door the monster is not approaching wastes the animation lock and leaves you exposed in the open. Top runners slam the spawn door after key 1, the stairwell door when key 3 is in the bag, and the cafeteria door only as an emergency recovery.
Audio Baiting and Pre-Staging
The Cat in the Hat investigates thrown objects, and certain classroom items — chalkboards, metal chairs, the music room piano — produce louder audio cues than others. Baiting is most useful when the monster is between you and your next key; a well-timed chalkboard throw can pull the patrol 15–20 meters off its loop, opening a window that would not otherwise exist. Pre-staging is the quieter version of the same trick: you drop a key near the exit door on the way to your fourth pickup, so the final run to the exit is just a grab-and-go instead of a search. Combined, baiting and pre-staging save about 5–8 seconds on a clean run, and they are the reason the Scream And Run fastest escape time keeps dropping as the community learns the map's rhythm. For runners who want to push the time even lower, the Scream And Run secret monster page covers the rare spawn that some players use to bait the Cat in the Hat off its normal loop.
Frequently Asked Questions
What is the Scream And Run fastest escape time on the School map?
The fastest community-verified Scream And Run fastest escape time on the School map is around 3 minutes 12 seconds, with most top runs landing between 3:20 and 3:45. Times depend on lobby size, monster pathing, and whether any keys spawn in their backup pool.
What is the best key pickup order for a Scream And Run perfect run?
A Scream And Run perfect run typically follows Janitor's Closet → Chemistry lab → Gym bag → Music room piano → Principal office safe. The order minimizes corridor crossings and keeps you on the safe side of the Cat in the Hat patrol for the first three pickups.
How do I recover after the Cat in the Hat grabs me mid-run?
After a grab, respawn at the closest safe room and head to the cheapest backup key in the opposite wing. The monster's patrol reroutes for about 15 seconds after a grab, so the opposite wing is unusually safe and is the best place to make up lost time.
Can I escape without all five keys in Scream And Run?
No. According to the official Roblox game page, every escape requires all five keys, and the exit door will not unlock with fewer. A Scream And Run escape all keys attempt that loses a key mid-run must either recover that specific key or reset.
Does co-op change the Scream And Run walkthrough school map route?
Co-op slightly stabilizes the monster's pathing because the AI splits attention between players, but it also increases the chance of accidental line-of-sight breaks. The optimized key order is identical, but recovery windows are tighter because the monster often tags both players within a single rotation.