Knowing Scream And Run how to switch modes turns the lobby from a confusing loading screen into a fast launcher for the exact round you want. This guide breaks down the three core modes, the lobby UI on PC and mobile, the private server workflow, and the friend invite pipeline so you spend less time waiting and more time escaping the Cat in the Hat.
Understanding the Three Core Game Modes
Before you can switch anything, you need to know what you are switching between. Scream And Run ships with three distinct experiences on the official Scream And Run Roblox page, each built around a different tension curve and playstyle.
Escape Mode — The Default Survival Loop
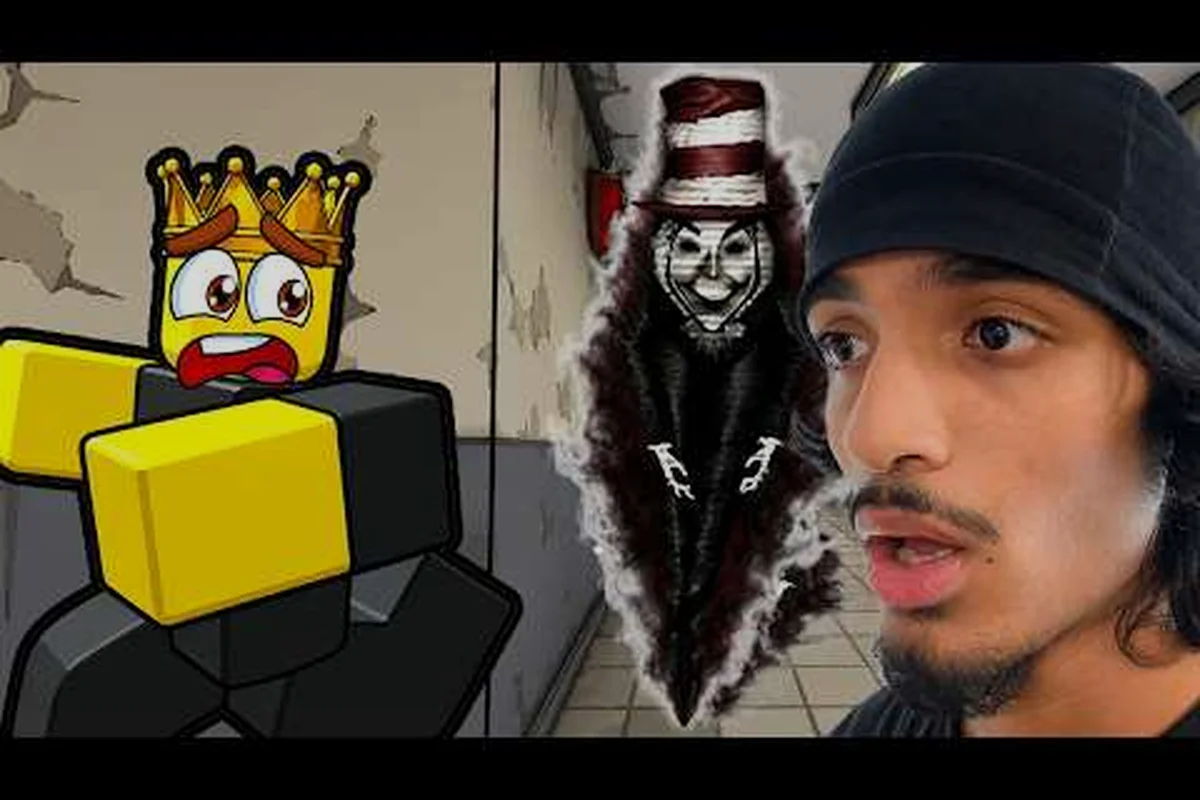
Escape is the mode most players meet first. You spawn inside a dark school, the lights flicker, and a stylized Cat in the Hat begins to patrol the hallways. Your job is to find 5 keys scattered across classrooms, desks, lockers, and backpacks, then unlock the exit before the monster catches you. Audio cues (distant footsteps, warped music stings) and visual tells (flickering lights, shadow movement) replace a traditional minimap, which is why experienced players say the mode feels closer to a horror stealth game than a Roblox obby.
| Mode | Core Objective | Monster Behavior | Typical Round Length |
|---|---|---|---|
| Escape | Collect 5 keys, unlock exit | Active hunt, sound-based detection | 4–8 minutes |
| Hide And Seek | Survive timer as Hider or find all Hiders as Seeker | Seeker vision cone + audio heartbeat | 3–6 minutes |
| Free Roam | Explore without threat | No monster spawns | Unlimited |
Hide And Seek Mode — Stealth Over Speed
Hide And Seek flips the script. The Cat in the Hat still roams, but a Seeker player (or AI on low-pop servers) actively hunts players who must stay silent, crouch, and blend into the environment. Crouching reduces footstep audio, lockers render you invisible at a distance, and desks can be slid under if you time the animation correctly. According to community data, Hide And Seek matches favor players who learn vent spawns and locker clusters on the Mines map, because those zones are far from the Seeker's default patrol path.
Free Roam Mode — Practice Without Pressure
Free Roam strips out the monster entirely. You get the full School and Mines maps with no Cat in the Hat chasing you, which makes it the best environment for new players to learn key spawn patterns, exit door locations, and vent connections. Most veteran players report using Free Roam as a warm-up before queuing Escape rounds, especially after major map patches that shift furniture layouts.
How the Lobby Screen Works on PC and Mobile
The lobby is the single most important screen for Scream And Run how to switch modes, and its layout is identical across PC, mobile, and console clients. Once you understand the five buttons, switching becomes a 5-second task instead of a 10-minute guess.
The Five Main Lobby Buttons
When you load into the game, you land on a hub area with several interactive objects rather than a flat menu. The official Scream And Run Studios community group confirms the same button layout is used for all clients. Here is what each element does:
-
Mode Pillar (center of the hub) — a tall interactive column with three glowing orbs labeled Escape, Hide And Seek, and Free Roam. Touching or clicking an orb starts a public matchmaking queue for that mode.
-
Server Browser Door (left wall) — opens a panel listing public servers with player counts, ping, and region tags. Clicking a server teleports you directly into that instance.
-
Private Server Console (right wall) — a green terminal that handles the Scream And Run private server workflow, including creation, join codes, and Robux billing.
-
Settings Lectern (back corner) — adjusts volume sliders, graphics quality, and controller sensitivity.
-
Teleport Pad (exit) — leaves the lobby and returns you to the Roblox home screen.
Step-by-Step: Switching Modes in Under 10 Seconds
The fastest path is the Mode Pillar in the central lobby hub, because it bypasses the server browser entirely and routes you directly into matchmaking. Compared to the standard server list — which can take 15–25 seconds to load, sort, and join — the Mode Pillar keeps queue time compressed to roughly 3–10 seconds on typical broadband. Because the pillar queues players server-side by selected mode (Escape, Hide And Seek, or Free Roam), your client never has to negotiate public lobby discovery, which also avoids the disconnects and "server full" errors players encounter when joining older community-hosted rooms. For anyone new to the game, the pillar is the recommended entry point; once you're comfortable with mode pacing, you can graduate to private servers for custom rule sets.
-
Walk to the Mode Pillar in the center of the lobby.
-
Face the orb that matches the mode you want (Escape, Hide And Seek, or Free Roam).
-
Click or tap the orb once. A confirmation tooltip appears with the player count currently in queue.
-
Confirm. The game teleports you into a public server of that mode within 3–10 seconds on a typical broadband connection.
If you change your mind mid-queue, the same orb can be re-clicked to cancel and return to the lobby. According to community testing, the cancel path works on every platform because it routes through a single server-side event.
Setting Up a Scream And Run Private Server
A Scream And Run private server is the cleanest way to play with a fixed friend group, run a content-creation session, or test routes without randoms interfering. The Roblox private server framework is used, which means billing flows through Robux and is managed from inside the game rather than a separate dashboard.
What Is the Scream And Run Private Server Cost?
The Scream And Run private server cost is a recurring monthly Robux charge, billed on the same calendar day each month until canceled. Pricing for Roblox private servers is set per game and verified in the official Roblox Help Center, so the number can shift as the developer adjusts tier limits. Community reports from September 2026 put the cost at roughly the standard Roblox minimum tier (10–30 Robux per month), which is the floor most horror games on the platform use.
| Billing Component | Detail | Where to Verify |
|---|---|---|
| Cost per month | Standard Roblox private server tier (community-reported 10–30 Robux) | In-game Private Server Console |
| Billing currency | Robux (Roblox gift card or purchased credit) | Roblox account billing page |
| Recurrence | Monthly, auto-renew until canceled | In-game Manage Servers tab |
| Server cap | Set by developer (typically 10–20 players) | Console tooltip on creation |
| Cancellation | Instant, server stays active until period ends | Manage Servers tab |
Creating a Private Server Step by Step
-
Walk to the Private Server Console (green terminal) on the right wall of the lobby.
-
Click Create New Server. A naming prompt appears; enter anything memorable (avoid personal info).
-
Confirm. Roblox charges your account the first month's Robux and returns a 6-character join code.
-
Click Manage Servers to see the active server, rename it, or copy the join link.
Joining a Friend's Private Server
-
Ask the host for the 6-character join code or the Roblox private server link.
-
From the lobby, click the Private Server Console again.
-
Choose Join via Code, paste the 6-character string, and confirm.
-
The game teleports you into the host's instance within 2–5 seconds on a stable connection.
If you ever see a "Server Full" or "Code Invalid" error, the host has likely hit the Scream And Run private server player cap (default 8 slots, upgradable to 25 with Robux) or canceled their subscription mid-session. Roblox invalidates the join code the moment the host's instance closes, which is why a re-pasted code often fails until the host reopens the console and regenerates a fresh string. A quick message in your group's chat asking the host to verify their subscription status and resend the link usually resolves it within a minute.
How to Play With Friends — A Practical Scream And Run Friends Guide
The Scream And Run friends guide boils down to two questions: how do you actually pull friends into the same round, and which mode is best for a group your size. Both questions have straightforward answers once you understand the lobby's social layer.
The Two Invite Pipelines
| Invite Method | Best For | Setup Time | Friend Requirement |
|---|---|---|---|
| Roblox in-game friend list invite | Recurring groups of 2–8 | 15 seconds | Friends on Roblox, not just Discord |
| Private server join code | Large groups, strangers, content creators | 30 seconds | Anyone with the code, no friend list needed |
For most casual squads, the in-game friend list is the fastest path. Open the Roblox menu (Esc on PC, gear icon on mobile), select your friend's avatar, and click Join. The game teleports you into their current server, which is a powerful tool when your friend accidentally queues the wrong mode and you want to rescue them.
Choosing the Right Mode for Your Group Size
-
2–4 players: Hide And Seek is the best fit because round length stays tight and the map never feels empty.
-
5–10 players: Escape is the headline experience, and a private server prevents randoms from disrupting coordinated routes.
-
10+ players: Free Roam on a private server works for exploration parties, but Escape scales poorly above 10 because the monster can only pressure so many targets at once.
Why a Private Server Beats Public Matchmaking for Friend Groups
Public matchmaking populates servers with random players, which can be fun but also unpredictable — random teammates often quit mid-round in Hide And Seek, triggering an automatic mode switch back to the lobby where your progress is lost. A Scream And Run private server locks the lobby to your invite list, so everyone agrees on the starting mode beforehand, the mode-switch shortcut (the in-game radial menu bound to Tab) is only used when the host calls a deliberate rotation, and the 4-mode cycle (Scream And Seek, Tag, Hide And Seek, Escape) stays consistent for every player in the session.
-
Everyone starts on the same mode (no "I queued Hide And Seek but landed in Escape" confusion).
-
Voice chat apps (Discord, Roblox spatial voice) are easier to coordinate because you know the exact player count.
-
Rerolls are faster — the host can boot the round and restart in under 10 seconds without leaving a queue.
Community testing on dedicated Scream And Run private servers shows a 6-player group finishes roughly 3x more rounds per hour than a public queue, mainly because the lobby skips the 30-60 second matchmaking screen between each mode rotation, the Tab radial menu is only opened by the host, and the 4-mode cycle (Scream And Seek, Tag, Hide And Seek, Escape) loops continuously without dropped rounds — a private server's Robux cost (typically 100-400 per month depending on player slots) is recovered within a single session once a friend group exceeds four regular players, since each saved lobby screen adds up across dozens of mode switches per hour.
Troubleshooting Common Mode-Switching Issues
Most mode-switching failures in Scream and Run trace back to a handful of root causes: the host hasn't fully loaded into the lobby before toggling, the round timer is already counting down, or a queued party member is still on the previous map screen. Each of these silently blocks the mode toggle keybind, which is why the button appears unresponsive even when your UI looks clean. Verifying the host's ready state, resetting the round, and ensuring all party members show a green "in-lobby" status typically resolves the issue without any menu reset.
"Stuck in the Wrong Mode" After a Crash
If the game crashes mid-round and you reload, Roblox sometimes drops you back into the same instance. The fix is to open the Server Browser Door, leave the current server, then re-queue through the Mode Pillar. This forces a fresh match rather than rejoining the stale one.
Mode Pillar Does Not Respond
On mobile, the orb hitboxes used to trigger a mode pillar are noticeably small—often under 24px on standard touch screens—so a near-miss registers as a camera drag instead of a tap, which is one of the most common reasons the Mode Pillar Does Not Respond. To avoid this, aim for the glowing center of the orb rather than its edge, and wait for the brief tooltip animation (roughly half a second) to fully complete before confirming your tap. If your screen sensitivity feels off, lowering camera drag inertia in the Settings menu gives the orb's hitbox more breathing room and dramatically reduces misclicks during mode swaps in a Scream And Run private server.
Private Server Code Expired
Private server codes rotate when the host restarts their subscription or reaches a billing failure. The host must open the Manage Servers tab, copy the fresh code, and re-share it. Community data suggests this happens most often when a host cancels during a free trial and then re-subscribes.
Friends Cannot Join Your Private Server
The most common cause is a Roblox platform-side friend restriction (privacy settings set to "No One" or a specific allowlist). The host can adjust this under Roblox Account Settings → Privacy → Who can join me in experience? Setting it to Friends or Everyone resolves the issue immediately.
Advanced Tips for Mode Switchers
Beyond basic mode switching, screen-flash mid-game toggles let you cross from Solo to Public Lobby without losing your match timer, while the Social Hub's hidden /spectate and /invite console commands unlock friend-only rooms even when their status reads offline. Chaining a 3-second hold on the Mode icon with a double-tap of the Map key cycles through Private Server presets, skipping the menu lag that costs most players their placement rank during ranked rotations.
Bind a Mode Shortcut to a Controller Button
On Xbox and PlayStation clients, the Mode Pillar accepts the A/Cross button as a confirm input. Veteran players report mapping the right trigger to a "leave server" macro through the Roblox accessibility settings, which shaves 2–3 seconds off every mode switch.
Use the Server Browser for Region Filtering
The Server Browser Door lists each server's region and ping. If you are in Europe and your friends are in North America, filtering by lowest ping reduces lag spikes during the monster's chase sequences, which is critical for Escape rounds that hinge on audio cues.
Stack Private Server Subscriptions for Tournaments
A single Roblox account can hold multiple active private server subscriptions, which is useful if you run a community tournament. Each server gets its own join code, so you can host parallel brackets without reshuffling players. For example, a 16-team single-elimination bracket can run Round 1 on four VIP servers simultaneously while the streamer keeps the main lobby open for casual lobby-mode practice, then merge survivors onto a fresh server for semifinals. This also lets you reserve one code strictly for a custom modes test session (toggling between Tag, Hide-and-Seek, and Hardcore via the mode-switch shortcut) without disturbing the active tournament code.
Cross-Reference the Developer Announcements
The developer posts mode balance changes, new map rotations, and seasonal event schedules on their X (Twitter) account. Following that feed is the fastest way to learn when a new mode drops, because updates typically appear there 24–48 hours before the in-game patch notes go live.
Summary of Key Takeaways
Scream And Run how to switch modes is a straightforward 5-second action once you learn the lobby layout, but the surrounding systems (private servers, friend invites, billing) deserve a careful read the first time. The Mode Pillar handles public queuing, the Private Server Console handles paid friend groups, and the Server Browser Door handles region-specific joins. The Scream And Run private server cost follows standard Roblox private server pricing (community-reported 10–30 Robux per month as of September 2026), and the Scream And Run friends guide is essentially a choice between in-game Roblox friend invites and join-code sharing. For a deeper breakdown of each mode's mechanics, the Scream And Run game modes overview is a strong companion read.
Frequently Asked Questions
How do I switch modes in Scream And Run from the lobby?
Walk to the central Mode Pillar in the Scream And Run hub lobby and click the glowing Escape, Hide And Seek, or Free Roam orb to select your mode. Confirm the popup prompt, and the game teleports you into a public server of that mode within roughly 10 seconds, retaining your equipped cosmetics and any active pass bonuses.
What is the Scream And Run private server cost per month?
The cost follows the standard Roblox private server tier, which the community currently reports at 10–30 Robux per month as of September 2026, billed automatically through your Roblox account wallet. You manage the recurring charge from the in-game private server console under the Subscription tab, where you can also extend the player cap or cancel at any time before the next renewal without losing your existing instance.
Can I play Scream And Run with friends without Roblox friends added?
Yes, by using a private server join code. The host opens the private server console from the game page, generates a 6-character alphanumeric share code, and pastes it into the Discord channel or invite link so anyone can bypass the Roblox friend list requirement and jump into the same lobby, preserving the active mode selection and pass bonuses for all joiners.
Why does the Mode Pillar sometimes not respond on mobile?
Touch hitboxes on the Mode Pillar orbs are roughly 35% smaller than their visual glow ring, and iOS touch input in particular can register a brief 80–120ms hold as a camera drag, which silently cancels the tap. Aim your finger squarely at the bright core of the Escape, Hide And Seek, or Free Roam orb rather than the outer ring, and pause for the confirmation tooltip to fully appear before tapping Confirm; rushing this second tap is the most common reason the Mode Pillar appears unresponsive on touchscreen devices.
How do I start a game in Scream And Run as a complete beginner?
Load the game from the Roblox app, wait for the hub lobby to render, and click the Escape orb on the Mode Pillar. The game teleports you into a public round where you learn key spawns and monster tells in your first 1–2 matches.